1. Install Apache2
We are assuming that you do not have installed Apache2 on your
system, But if you already have executed the following command to
upgrade it to latest available version.
$ sudo apt-get install apache2
2. Install Mod_Pagespeed
Now download the mod-pagespeed module for Apache2 from official
webpage, or use the following command to download it.
For 64bit System -
 $ wget https://dl-ssl.google.com/dl/linux/direct/mod-pagespeed-stable_current_amd64.deb

For 32bit System -
$ wget https://dl-ssl.google.com/dl/linux/direct/mod-pagespeed-stable_current_i386.deb
After downloading above package install it using following command.
$ dpkg -i mod-pagespeed-stable*.deb
After successful installation of the package, it will prompt for restart Apache2 service to load module in the environment.
$ sudo service apache2 restart
3. Enable/Disable Mod_Pagespeed
If you want anytime to disable or enable mod_pagespeed from apache,
you don’t need to enable/disable module. Edit module configuration file
/etc/apache2/mods-available/pagespeed.conf and Change following option
 ModPagespeed on      #To turn on mod_pagespeed

 ModPagespeed off     #To turn off mod_pagespeed
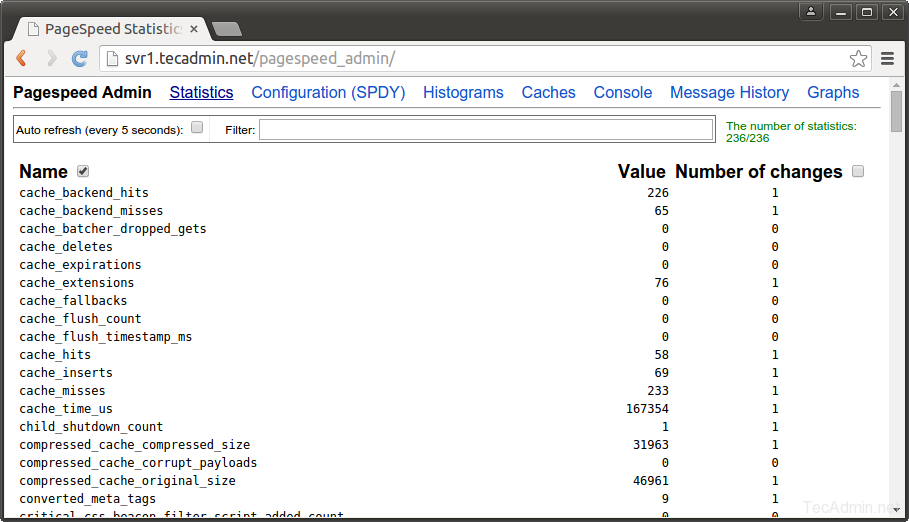
4. Mod_Pagespeed Admin Access
Apache Mod_Pagespeed module also provides an admin area to view
statics, but default it is accessible from localhost only. To make it
available from public network edit configuration file and add your IP in
Allow from the list.
<Location /pagespeed_admin>
    Order allow,deny
    Allow from localhost
    Allow from 127.0.0.1
    Allow from 12.34.567.89
    SetHandler pagespeed_admin
</Location>

<Location /pagespeed_global_admin>
    Order allow,deny
    Allow from localhost
    Allow from 127.0.0.1
    Allow from 12.34.567.89
    SetHandler pagespeed_global_admin
</Location>
and reload Apache2 service
$ sudo service apache2 reload
Now access
/pagespeed_admin URL in your browser, You will see the page like below.
http://example.com/pagespeed_admin/


Comentarios
Publicar un comentario