
Introduction
LAMP stack is a group of tools installed on a server to enable hosting dynamic websites and web apps. The acronym stands for: Linux, Apache, MySQL, PHP.In this tutorial we’ll look at how to install the stack on a server running Ubuntu 17.04.
Getting started
First, connect to your server withssh (if you do not have physical access to the machine):$ ssh user@SERVER_IP
Check for available updates:
$ sudo apt-get update
If there are updates, install all of them:
$ sudo apt-get upgrade
Of course, we already have the “L” part of LAMP stack, which is a running GNU/Linux system (Ubuntu 17.04).
Install Apache
Install the Apache web server, which is available in the Ubuntu repositories:$ sudo apt-get install apache2
Start an Apache configuration test:
$ sudo apache2ctl configtest
AH00558: apache2: Could not reliably determine the server's
fully qualified domain name, using fe80::5054:ff:fe69:a3e0.
 Set the 'ServerName' directive globally to suppress this message
Syntax OK
There are no syntax errors, however the test returns a warning message saying that we didn’t set up a FQDN (fully qualified domain name). This warning message is harmless, but it will show up when checking your Apache configuration for syntax errors.
Edit the Apache main configuration:
$ sudo $EDITOR /etc/apache2/apache2.conf
At the end of this file, add a
ServerName directive, pointing to server domain or IP. For the purpose of this tutorial we’ll write:ServerName 192.168.122.64
Save, close the file and check for syntax errors in configuration:
$ sudo apache2ctl configtest
Now, the result will be:
Syntax OK
Restart Apache:
$ sudo systemctl restart apache2
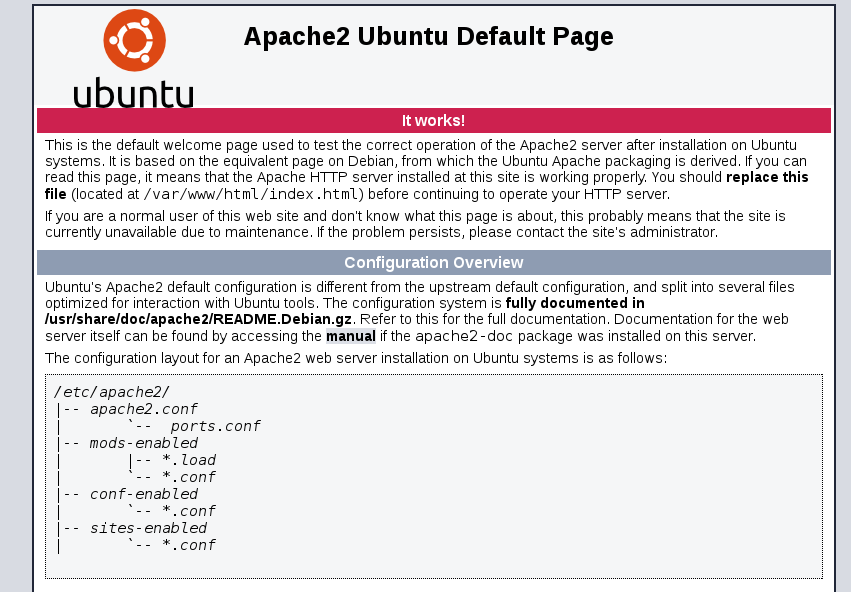
Open a web browser and go to your server URL. If you see the following page, Apache is correctly running.
Adjust the Firewall to Allow Web Traffic
Next, assuming that you have followed the initial server setup instructions to enable the UFW firewall, make sure that your firewall allows HTTP and HTTPS traffic. You can make sure that UFW has an application profile for Apache like so:
- sudo ufw app list
Output
Available applications:
  Apache
  Apache Full
  Apache Secure
  OpenSSH
Apache Full profile, it should show that it enables traffic to ports 80 and 443:
- sudo ufw app info "Apache Full"
Output
Profile: Apache Full
Title: Web Server (HTTP,HTTPS)
Description: Apache v2 is the next generation of the omnipresent Apache web
server.

Ports:
  80,443/tcp
- sudo ufw allow in "Apache Full"
http://your_server_IP_address
Install MySQL
At this point, you also have a web server up and running. Next step is to install the database management system, MySQL.MySQL is available in Ubuntu repositories, so use
apt$ sudo apt-get install mysql-server
During the installation, you will be asked for the root account password
Install PHP
The next part of the LAMP stack is a PHP environment. This is the part that will process the code to display dynamic content. Install PHP usingapt:$ sudo apt-get install php libapache2-mod-php php-mcrypt php-mysql
PHP has a lot of different modules that can be easily installed to enhance its functionality. Look for these additional modules with
apt:$ apt-cache search php- | less
libnet-libidn-perl - Perl bindings for GNU Libidn
php-all-dev - package depending on all supported PHP development packages
php-cgi - server-side, HTML-embedded scripting language (CGI binary) (default)
php-cli - command-line interpreter for the PHP scripting language (default)
php-common - Common files for PHP packages
php-curl - CURL module for PHP [default]
php-dev - Files for PHP module development (default)
php-gd - GD module for PHP [default]
php-gmp - GMP module for PHP [default]
php-ldap - LDAP module for PHP [default]
php-mysql - MySQL module for PHP [default]
php-odbc - ODBC module for PHP [default]
php-pear - PEAR Base System
php-pgsql - PostgreSQL module for PHP [default]
php-pspell - pspell module for PHP [default]
php-recode - recode module for PHP [default]
php-snmp - SNMP module for PHP [default]
php-sqlite3 - SQLite3 module for PHP [default]
php-tidy - tidy module for PHP [default]
php-xmlrpc - XMLRPC-EPI module for PHP [default]
php7.0-cgi - server-side, HTML-embedded scripting language (CGI binary)
php7.0-cli - command-line interpreter for the PHP scripting language
php7.0-common - documentation, examples and common module for PHP

...
Test PHP
To test PHP, create a new basic file namedinfo.php in the Apache web root, which, for Ubuntu, is /var/www/html:$ sudo $EDITOR /var/www/html/info.php
In this file, paste the following code:
<?php
phpinfo();
?>
Save and close this. Next, with a web browser, go to:
http://your_domain_or_ip/info.php. If everything is working well, it should display the following page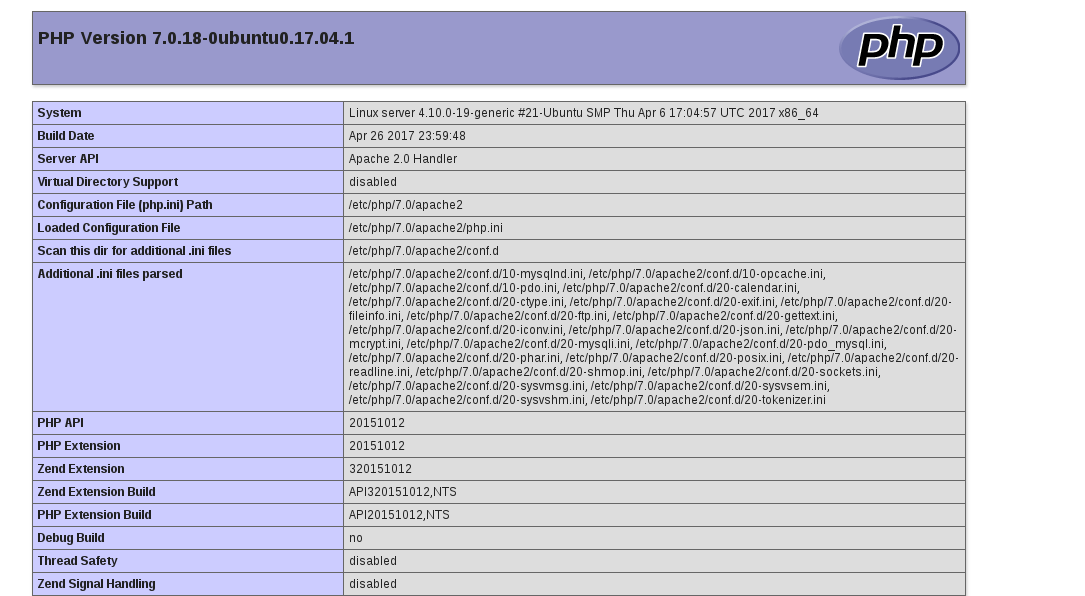
Comentarios
Publicar un comentario